apt install -y --no-install-recommends bind9-dnsutils binutils bzip2 curl git jq nginx libnginx-mod-http-headers-more-filter snmpd unzip wget xz-utils
- 设置允许 Root 用户登录
cat /etc/ssh/sshd_config | grep -Eq "^[# ]?PermitRootLogin " ; [ $? -eq 0 ] && sed -i 's/^[# ]\?PermitRootLogin.*/PermitRootLogin yes/g' /etc/ssh/sshd_config || echo -e "\nPermitRootLogin yes" >> /etc/ssh/sshd_config
- 设置密码认证
cat /etc/ssh/sshd_config | grep -Eq "^[# ]?PasswordAuthentication " ; [ $? -eq 0 ] && sed -i 's/^[# ]\?PasswordAuthentication.*/PasswordAuthentication yes/g' /etc/ssh/sshd_config || echo -e "\nPasswordAuthentication yes" >> /etc/ssh/sshd_config
- 启动/重启SSH服务
ps -ef | grep -q ssh ; [ $? -eq 0 ] && systemctl restart sshd || systemctl enable --now sshd
- 时区设置
dpkg-reconfigure tzdata
- 替换官方源
nano /etc/apt/sources.list
deb https://mirrors.tuna.tsinghua.edu.cn/debian/ bookworm main contrib non-free non-free-firmware
deb-src https://mirrors.tuna.tsinghua.edu.cn/debian/ bookworm main contrib non-free non-free-firmware
deb https://mirrors.tuna.tsinghua.edu.cn/debian/ bookworm-updates main contrib non-free non-free-firmware
deb-src https://mirrors.tuna.tsinghua.edu.cn/debian/ bookworm-updates main contrib non-free non-free-firmware
deb https://mirrors.tuna.tsinghua.edu.cn/debian/ bookworm-backports main contrib non-free non-free-firmware
deb-src https://mirrors.tuna.tsinghua.edu.cn/debian/ bookworm-backports main contrib non-free non-free-firmware
deb https://mirrors.tuna.tsinghua.edu.cn/debian-security bookworm-security main contrib non-free non-free-firmware
deb-src https://mirrors.tuna.tsinghua.edu.cn/debian-security bookworm-security main contrib non-free non-free-firmware
- 容器
apt-get update
apt-get upgrade -y
cat /etc/debian_version
apt-get install -y curl
bash <(curl -sSL https://linuxmirrors.cn/docker.sh)
Cloudflare R2 作为新兴对象存储服务,以其零出口流量费和10GB免费存储空间的优势,成为个人图床的绝佳选择。
一、为什么选择 Cloudflare R2 做图床?
Cloudflare R2 是 Cloudflare 推出的对象存储服务,与传统云存储相比具有独特优势:
✅ 零出口流量费用:图片被访问时不收取任何流量费
🌍 全球加速网络:利用 Cloudflare 全球275个节点实现快速访问
🆓 免费额度充足:每月免费提供: 10GB 存储空间(约可存5万张2MB图片) 100万次上传操作(A类操作) 1000万次图片读取(B类操作)
💰 超低超额费用:即使超出免费额度,每1000万次读取仅需$0.36
实测网络速度: 白天:最高可达50MB/s
晚上:约4-5MB/s(不同地区有差异)
二、准备工作
在开始搭建前,需要准备好以下资源:
1.Cloudflare 账号:
访问 Cloudflare官网 https://www.cloudflare.com/ 注册免费账号
2.支付方式:
信用卡或 PayPal(仅用于验证,免费额度内不会被扣费)
3.域名一个:
可以是免费域名,或任意已购买的域名(无需备案),将域名托管到CF.
三、创建与配置 R2 存储桶
步骤1:创建存储桶
1.登录 Cloudflare 控制台
2.左侧菜单选择 R2 对象存储,需要添加付款方式
3.点击 创建存储桶
4.填写存储桶名称(例如 image)
5.地区选择 亚太地区(APAC)
6.默认存储类选择 标准
7.点击 创建存储桶
8.开启公开访问:点击 设置,公共开发URL栏 点击 启用,确认对话框中输入"allow",点击允许
9.这样创建完成了!直接在页面的对象TAB上传和删除文件等操作。
打开文件的URL能访问的话,就不需要配置域名,直接使用即可;但为了哪天被墙,建议用自定义域名绑定,看上去也更简洁美观点。
步骤2:绑定自定义域名
1.进入刚创建的存储桶
2.点击 设置 标签页
3.找到 自定义域 二级菜单
4.点击 添加 ,输入自定义域名(例如pic.xxxx.xxx),点击继续
5.点击 连接域
6.等待初始化,状态=活动 即成功
步骤3:创建S3 客户端API访问密钥
1.左侧菜单选择 R2 对象存储,点击概述
2.点击 管理API令牌
3.点击 创建 Account API令牌
4.配置参数:
- 令牌名称:PicListToken
- 权限:对象读和写: 允许读取、写入和列出特定存储桶中的对象。
- 指定存储桶:应用于此帐户中的所有存储桶(包括新创建的存储桶)
- TTL:永久
5.点击底部按钮 创建 Account API令牌
6.在记事本中保存<访问密钥 ID><机密访问密钥>值,点击完成后无法再次查看
四、配置 PicList 上传图片
PicList是一款高效的云存储和图床平台管理工具,基于PicGo深度二次开发,提供完整的图床功能和全面的云存储管理能力
PicList下载安装与基础配置:
- 下载安装 PicList https://piclist.cn/
- 打开 PicList,进入 图床设置
- 选择 Amazon S3(因 R2 兼容 S3 API)
- 填写配置信息:
| Piclist 字段名 | Cloudflare R2 对应值 |
|---|---|
| 设定AccessKeyId | 访问密钥 ID (Access Key ID) |
| 设定SecretAccessKey | 机密访问密钥 (Secret Access Key) |
| 设定Bucket | 创建存储桶时填写的名称 img |
| 设定上传路径 | xxx文件名/{year}/{month}/{fullName} |
| 设定Region | apac |
| 自定义节点 | 复制节点URL:R2 对象存储→概述→API→将 R2 与 API 配合使用→复制URL |
| 自定义域名 | pic.xxxx.xxx |
五、高级优化配置
1.设置缓存规则(减少B类操作)
- 在 Cloudflare 控制台选择你的域名
- 进入 规则 → 页面规则 → 创建页面规则
- 配置:
- URL:https://pic.xxxxx.xxx/*
- 边缘缓存TTL:1个月(长期不更新的图片)
- 浏览器缓存TTL:1天
- 缓存级别:缓存所有内容
2.设置速率限制(防止恶意请求)
- 进入 安全性 → WAF → 速率限制规则
- 点击 创建规则
- 配置:
- 规则名称:image-rate-limit
- 字段:URL路径
- 运算符:包含
- 值:/
- 当速率超过:100 请求 / 10 秒
- 然后采取措施:阻止
3.防盗链设置(可选)
- 进入 安全性 → WAF → 自定义规则
- 点击 创建规则
- 配置:
- 规则名称:hotlink-protection
- 字段:主机名 等于 pic.xxxxx.xxx
- 添加条件:引用方 不等于 www.xxxxx.xxx
- 然后采取措施:阻止
前言
无图眼神版,不懂请勿乱来。PVE炸了与我无关。!
一、改源
1.备份源
cp /etc/apt/sources.list /etc/apt/sources.list.backup
2.添加国内源
注意
有两段代码,第一段整段代码一次性复制
cat <<EOF > /etc/apt/sources.list
deb http://mirrors.ustc.edu.cn/debian/ bookworm main non-free-firmware
deb-src http://mirrors.ustc.edu.cn/debian/ bookworm main non-free-firmware

deb https://mirrors.ustc.edu.cn/debian-security bookworm-security main contrib

deb http://mirrors.ustc.edu.cn/debian/ bookworm-updates main non-free-firmware
deb-src http://mirrors.ustc.edu.cn/debian/ bookworm-updates main non-free-firmware
EOF
echo "deb https://mirrors.ustc.edu.cn/proxmox/debian/pve bookworm pve-no-subscription" > /etc/apt/sources.list.d/pve-no-subscription.list
3.PVE CT源
sed -i.bak 's|http://download.proxmox.com|https://mirrors.ustc.edu.cn/proxmox|g' /usr/share/perl5/PVE/APLInfo.pm
4.屏蔽企业源
sed -i 's/^deb https:\/\/enterprise.proxmox.com\/debian\/pve/#deb https:\/\/enterprise.proxmox.com\/debian\/pve/' /etc/apt/sources.list.d/pve-enterprise.list
5.屏蔽 Ceph 源
sed -i 's/^deb https:\/\/enterprise.proxmox.com\/debian\/ceph-quincy/#deb https:\/\/enterprise.proxmox.com\/debian\/ceph-quincy/' /etc/apt/sources.list.d/ceph.list
6.更新源
apt-get update
二、直通SR-IOV
1.查看PVE当前版本
pveversion
2.安装当前内核版本的头文件
apt install pve-headers-6.x.x-x-pve
三、配置直通的基础环境
1.开启IOMMU直通功能
echo -e "vfio\nvfio_iommu_type1\nvfio_pci\nvfio_virqfd" | tee -a /etc/modules
2.增加虚拟化驱动,加载vifo系统模块
echo -e "vfio\nvfio_iommu_type1\nvfio_pci\nvfio_virqfd" | tee -a /etc/modules
3.取消屏蔽显卡驱动
nano /etc/modprobe.d/blacklist.conf
全部删除 如果有的话
四、更新Grub引导配置和initramfs
update-grub
update-initramfs -u -k all
重启
/reboot
五、配置开启SR-IOV虚拟化核显
1.安装编译环境依赖
apt-get install --no-install-recommends git mokutil sysfsutils -y
apt install --reinstall dkms -y
2.添加一个临时的KERNEL环境变量
KERNEL=$(uname -r); KERNEL=${KERNEL%-pve}
3.克隆项目
一行!一行!输入 !!!

git clone https://github.com/strongtz/i915-sriov-dkms.git

cd i915-sriov-dkms/

sed -i 's/"@_PKGBASE@"/"i915-sriov-dkms"/g' ~/i915-sriov-dkms/dkms.conf

sed -i "s/^PACKAGE_VERSION=.*/PACKAGE_VERSION=\"$KERNEL\"/" ~/i915-sriov-dkms/dkms.conf
4.检查dkms.conf 配置文件中是否配置正确的内核版本和i915-sriov-dkms
cat ~/i915-sriov-dkms/dkms.conf
5.创建目录的符号链接到/usr/src/目录下
dkms add .
6.进入到链接到的目录
cd /usr/src/i915-sriov-dkms-$KERNEL
7.查看已安装的 DKMS 模块及其状态
dkms status
8.开始编译内核加入i915-sriov驱动
dkms install -m i915-sriov-dkms -v $KERNEL -k $(uname -r) --force -j 1
注意
编译过程时间稍长,需要等待
检查编译是否成功
dkms status
9.查询当前核显ID
lspci | grep VGA
10.修改下面代码的核显ID和虚拟核显数
echo "devices/pci0000:00/0000:00:02.0/sriov_numvfs = 3" > /etc/sysfs.conf

# 0000:00:02.0 这个修改为你的ID
# sriov_numvfs = 3里面的3修改为其他值,不要超过7
重启
/reboot
11.重启完检查是否开启成功
lspci | grep VGA
三、LXC直通核显配置
lxc.cgroup2.devices.allow: c 226:0 rwm
lxc.cgroup2.devices.allow: c 226:128 rwm
lxc.mount.entry: /dev/dri/card0 dev/dri/card0 none bind,optional,create=file
lxc.mount.entry: /dev/dri/renderD128 dev/dri/renderD128 none bind,optional,create=file
lxc.apparmor.profile: unconfined
lxc.cap.drop:
机器IP实例
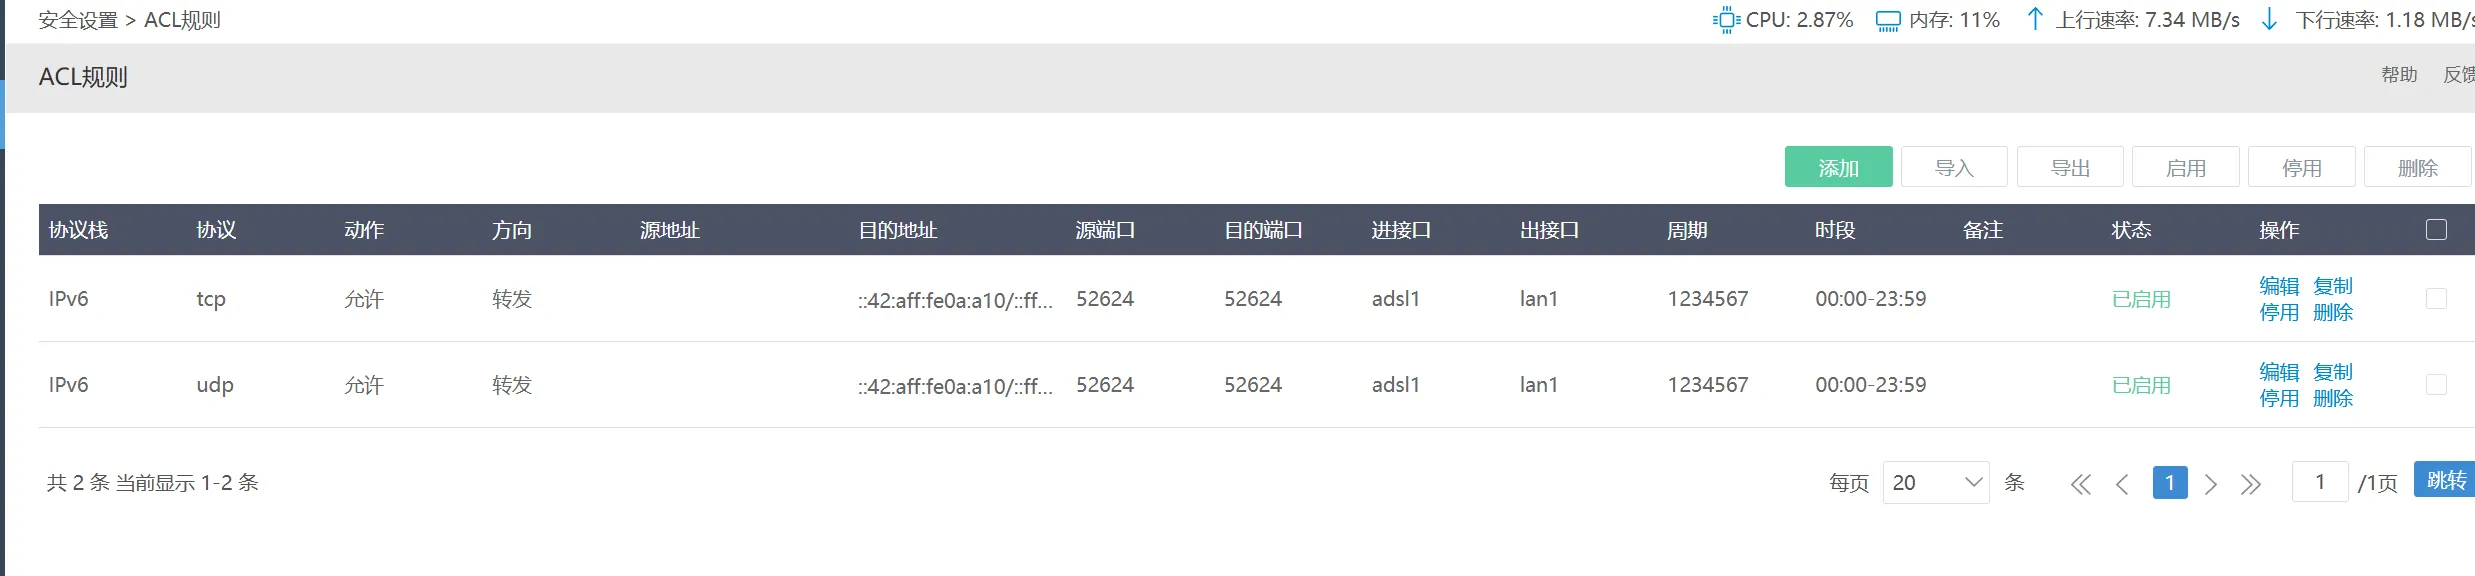
240e:390:5460:eca1:42:aaf:fe0a:a99/64
后缀匹配为
::42:aaf:fe0a:a99/::ffff:ffff:ffff:ffff
暴漏整机只需修改协议为任意即可。
- 创建 SSH 密钥对
ssh-keygen -t ed25519 -C "注释"
在~/.ssh/下生成 id_ed25519 私钥,id_ed25519.pub 公钥
- 创建“ .ssh ”目录和“ authorized_keys ”文件并设置适当的权限
创建文件夹
mkdir ~/.ssh
创建authorized_keys文件
touch ~/.ssh/authorized_keys
设置文件夹和文件权限
chmod 700 ~/.ssh
chmod 600 ~/.ssh/authorized_keys
- 公钥复制到目标服务器
ssh-copy-id -i ~/.ssh/id_xxx.pub root@10.10.10.x
或者手动复制到~/.ssh/authorized_keys中
- 修改SSH服务器配置文件以启用基于SSH密钥的身份验证
编辑SSH配置文件
nano /etc/ssh/sshd_config
PubkeyAuthentication yes
AuthorizedKeysFile .ssh/authorized_keys .ssh/authorized_keys2
取消#PubkeyAuthentication yes 允许密钥登陆的注释
AuthorizedKeysFile .ssh/authorized_keys .ssh/authorized_keys2 指定密钥的文件位置
PasswordAuthentication no
注意
PasswordAuthentication no 后将不允许使用密码登陆,等测试密钥登陆成功了再修改此条。
重启SHH服务(Debian/Ubuntu/Kali)
systemctl restart ssh
重启SSH服务(RHEL/CentOS)
systemctl restart sshd
- 更改 SSH 端口号
检查当前SSH使用端口号
grep -E '^#Port|^Port' /etc/ssh/sshd_config
修改SSH端口号为62425
sed -i 's/^#Port 22/Port 62425/' /etc/ssh/sshd_config
sed -i 's/^Port 22/Port 62425/' /etc/ssh/sshd_config
重启SSH服务(Debian/Ubuntu/Kali)
systemctl restart ssh
重启SSH服务(RHEL/CentOS)
systemctl restart sshd
- 禁用 SSH Root 登录
注意
禁用 root 登录可增加一层额外的安全性,因为要求用户以普通用户身份登录,然后在需要时升级权限。
编辑SSH配置文件
nano /etc/ssh/sshd_config
PermitRootLogin no
重启SSH服务(Debian/Ubuntu/Kali)
systemctl restart ssh